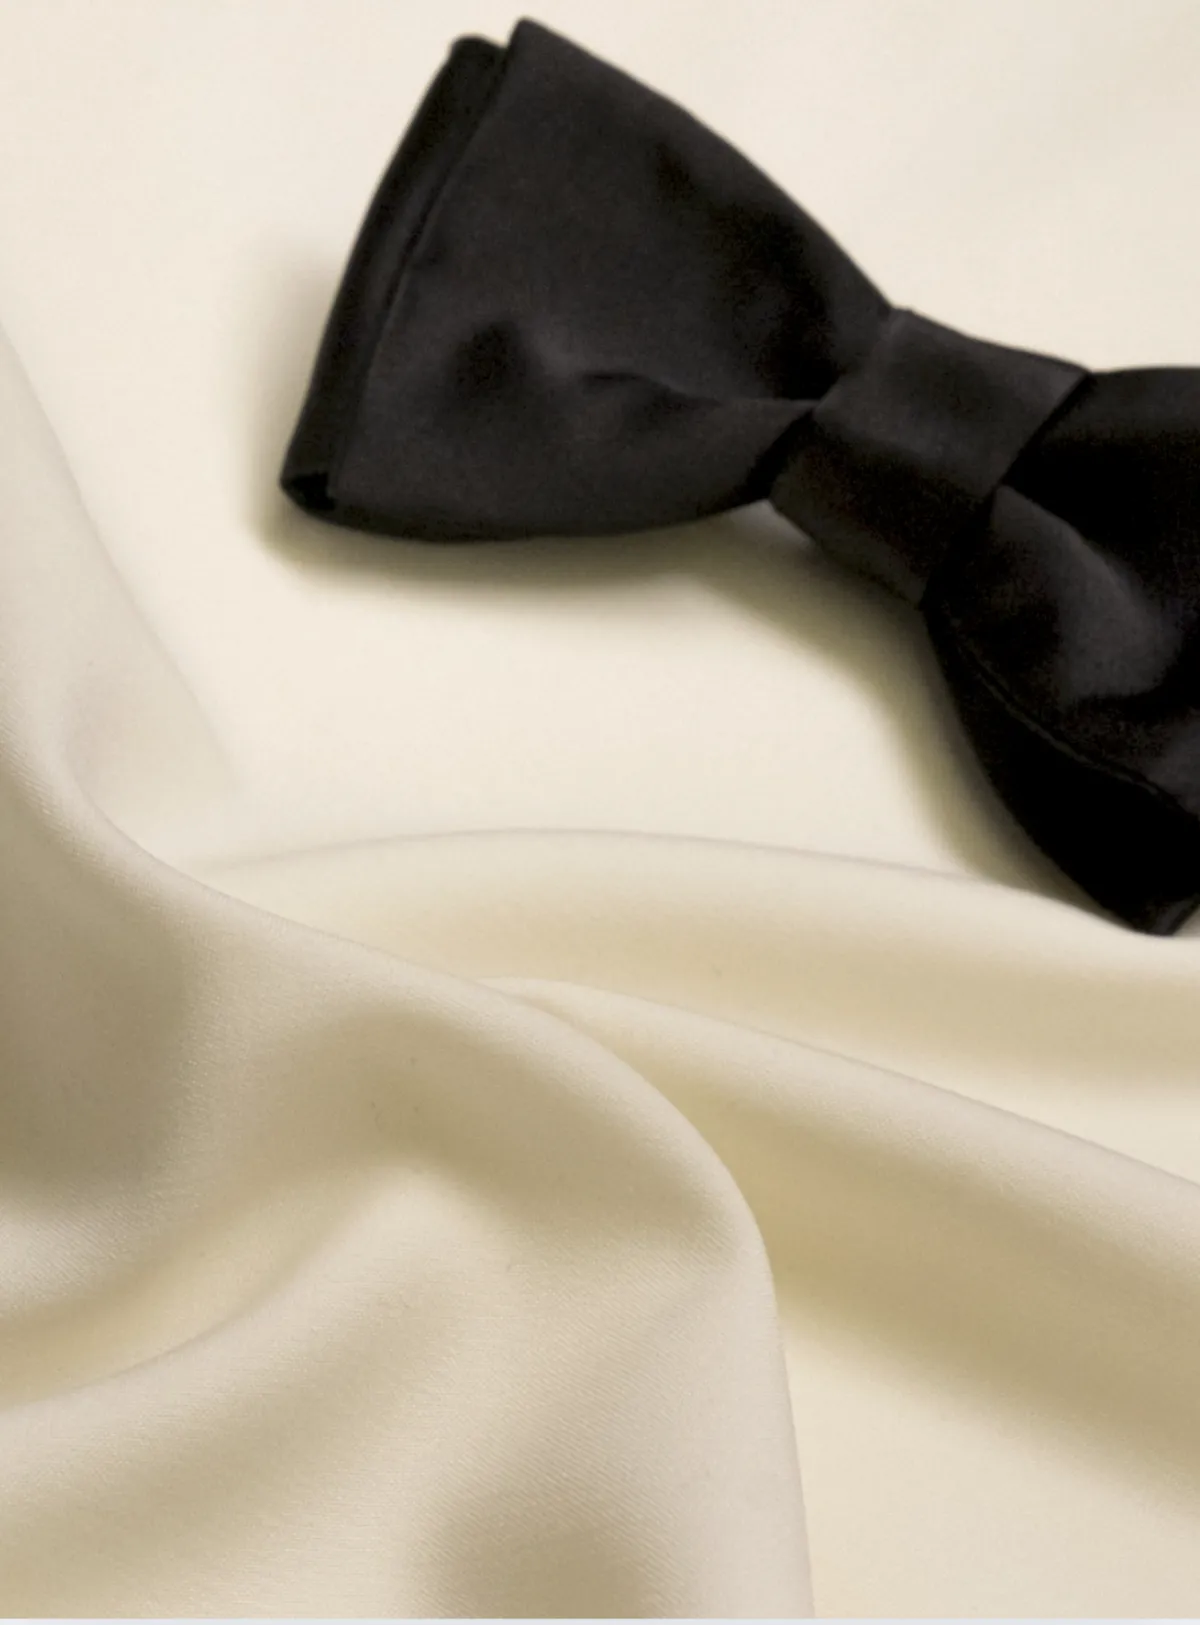
How to Tie a Bow Tie: A Complete Step by Step Guide for Men
There is something undeniably sharp about a man who can tie his own bow tie. It is a small detail, but it signals confidence, preparation, and a respect for tradition that does not go unnoticed. Whether you are getting ready for a black tie attire event, attending a wedding, or simply want to elevate your personal style, knowing how to tie a bow tie is a skill every well-dressed man should master.
At Bespoke By CB, we have been dressing men in Miami for over 37 years, and one of the most common questions we hear from clients is simple: "How do I tie this thing?" The truth is, tying a bow tie is not difficult once you understand the mechanics. It is a lot like tying your shoes. With a little patience and the right guidance, you will be tying your own bow tie in minutes, and you will never go back to pre-tied again.
This guide will walk you through every step of the process, from understanding the parts of a bow tie to adjusting it for the perfect fit. We will also cover common mistakes, fabric choices, styles, and when to wear a bow tie versus a necktie. By the end, you will have everything you need to tie a bow tie with confidence.
Why a Self-Tied Bow Tie Matters
Before we get into the steps, let us address the elephant in the room: pre-tied versus self-tied bow ties. You can buy a pre-tied bow tie, clip it on, and be out the door in seconds. So why bother learning to tie one yourself?
The answer comes down to three things: appearance, authenticity, and respect for the craft.
A self-tied bow tie looks different from a pre-tied one. It just does. The self-tied version has subtle asymmetry, slight irregularities in the knot, and a texture that signals it was tied by human hands. A pre-tied bow tie, by contrast, looks uniform, stiff, and mass-produced. People who know formalwear can spot the difference instantly. If you are investing in custom tuxedos or a high-quality suit, pairing it with a pre-tied bow tie undermines the entire look.
There is also the matter of authenticity. When you tie your own bow tie, you are participating in a tradition that goes back over a century. You are doing something that every well-dressed man before you has done. It is a quiet act of self-respect.
At Bespoke By CB, we always recommend self-tied bow ties to our clients. Christian Boehm, founder and master tailor, has been fitting men for formal events since 1988, and he will tell you the same thing: a pre-tied bow tie is the fastest way to cheapen a great tuxedo. Learn to tie your own, and you will look sharper every single time.
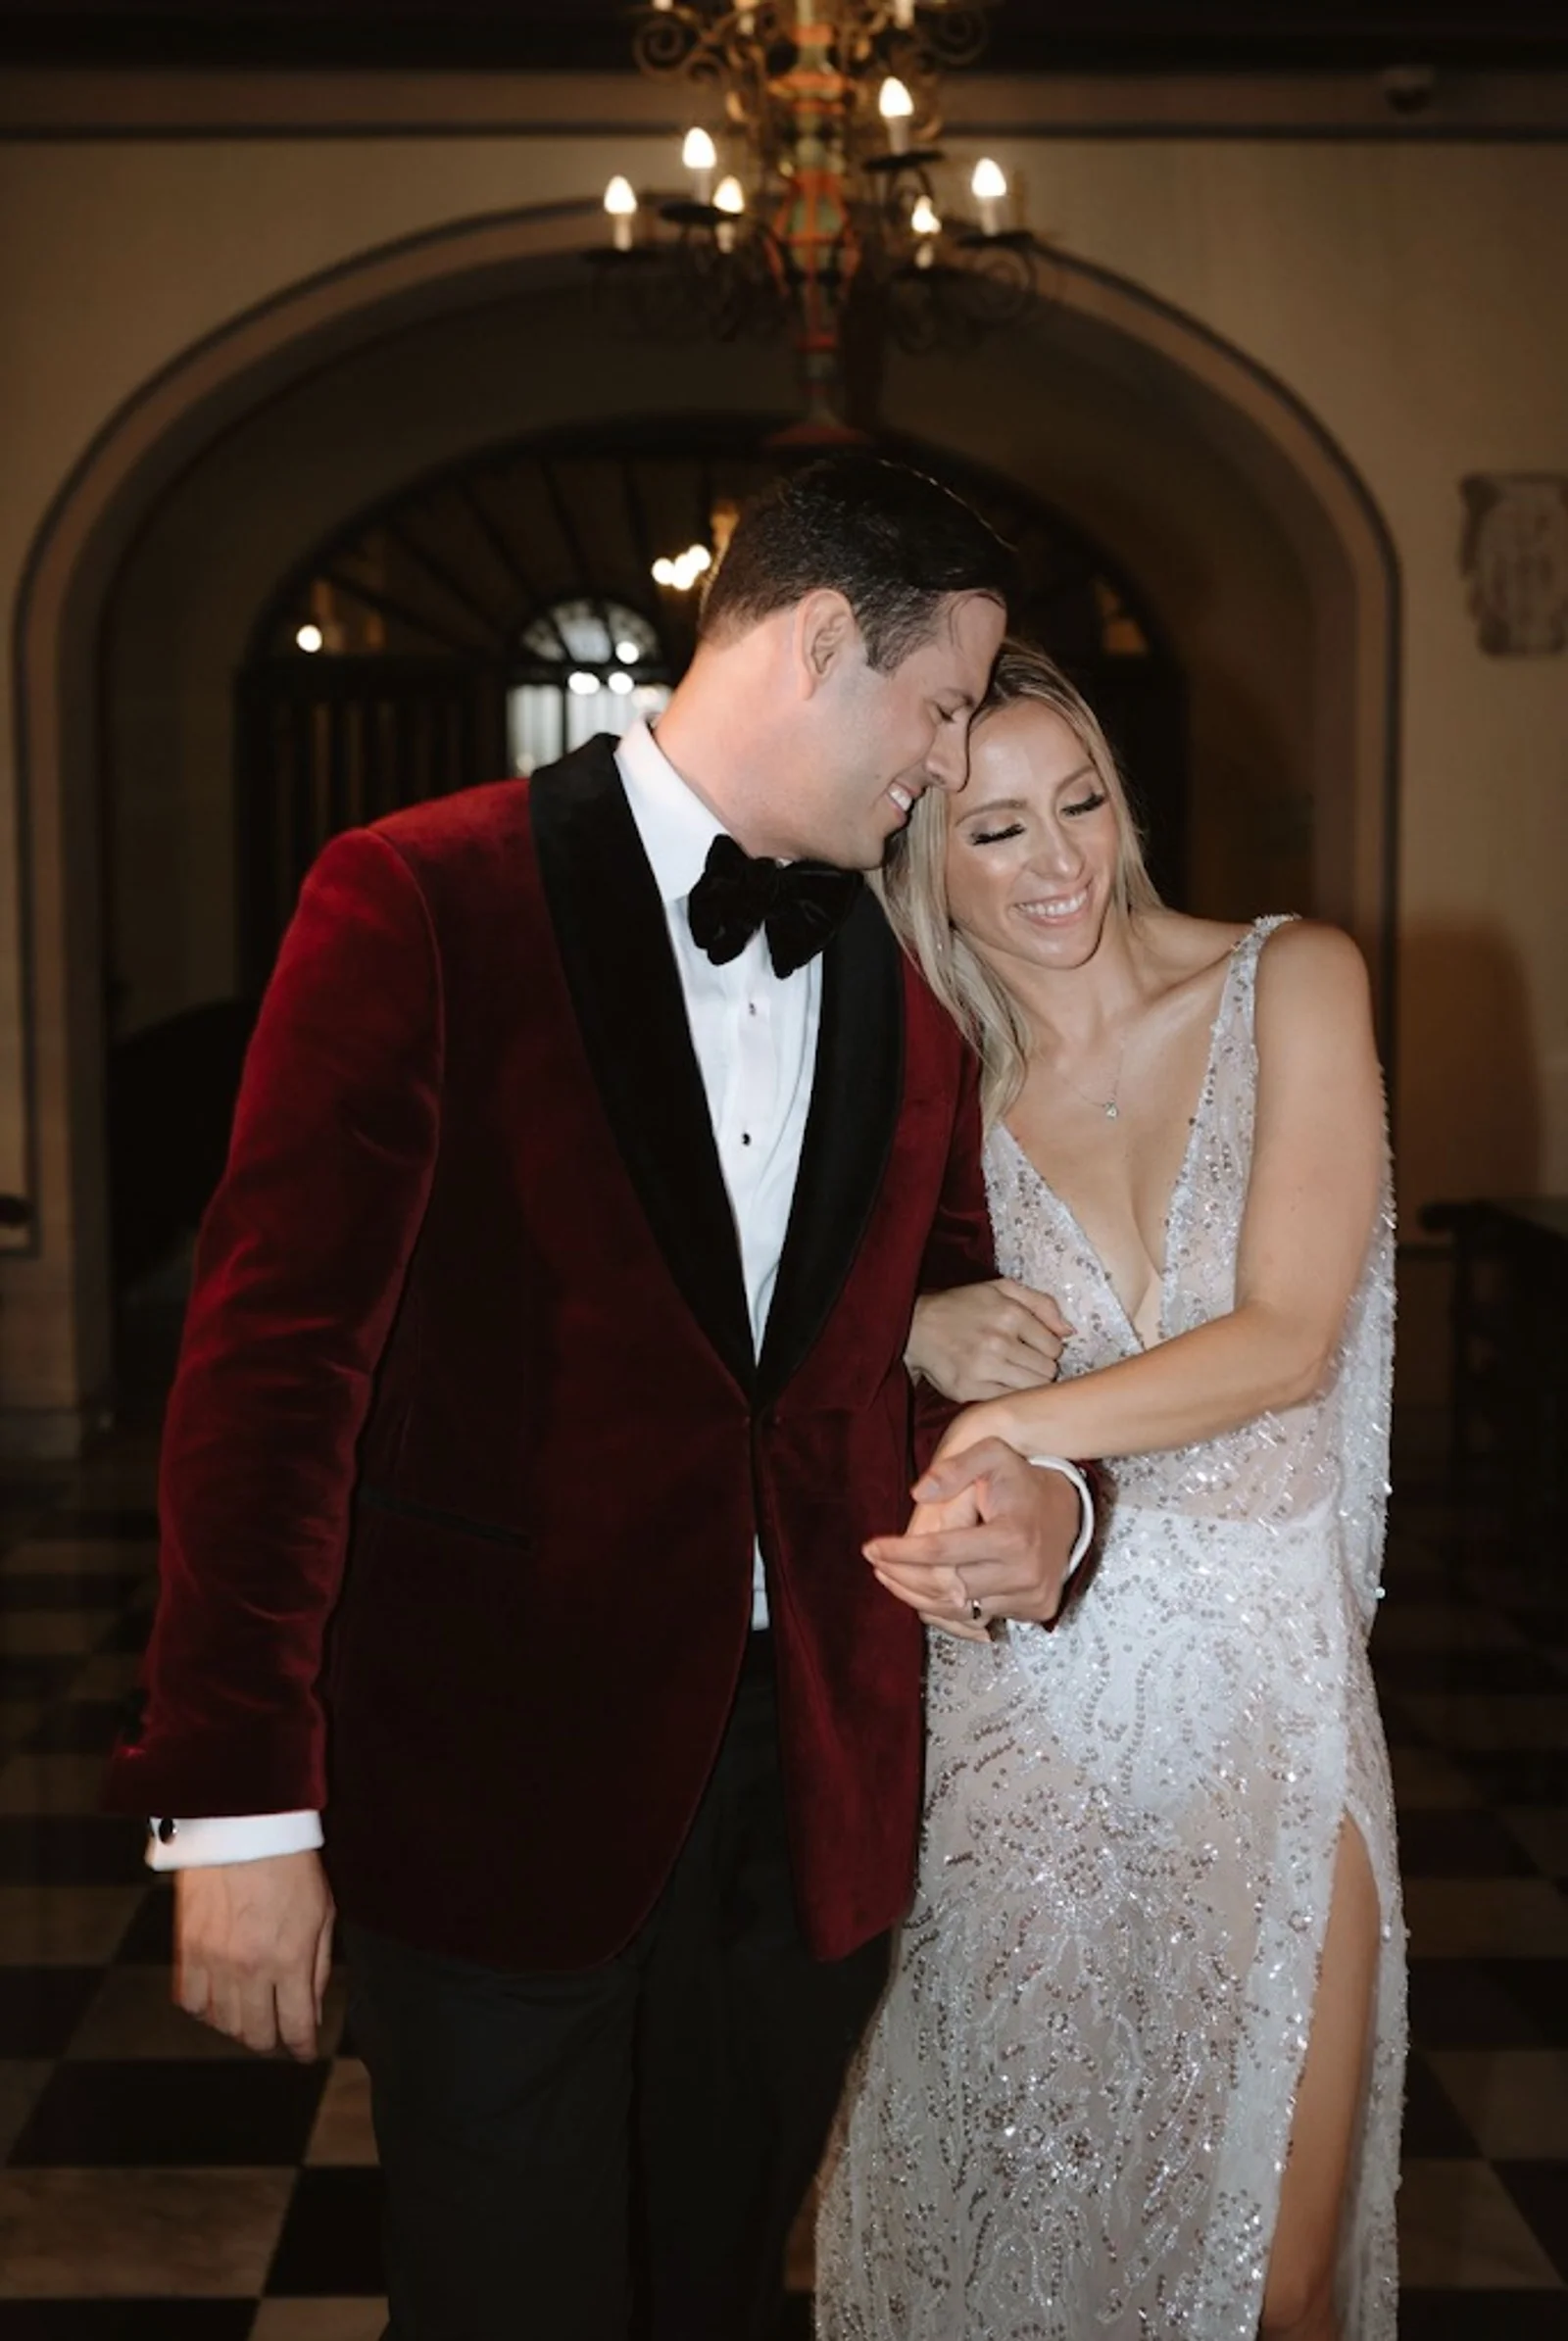
Parts of a Bow Tie: Understand the Anatomy Before You Start
Before you start tying, it helps to understand the parts of a bow tie. Knowing the anatomy will make the steps much easier to follow.
The Blade
The blade is the main body of the bow tie. It is the wide, flat portion that forms the visible loops of the finished bow. On most self-tie bow ties, one blade is slightly wider than the other, which helps with the tying process.
The Neckband
The neckband is the strip of fabric that connects the two blades and wraps around your neck. This is the part that determines the size of the bow tie. Most bow ties have an adjustable neckband with a sliding buckle or hook that lets you change the circumference to fit your neck size.
The Knot
The knot is the center piece where the two blades cross and interlock. This is what you will be forming when you tie the bow tie. The knot should be compact and centered, sitting just above your collar.
The Loop
The loop is the opening behind the knot where one blade passes through the other. This is what gives the bow tie its signature shape, two distinct wings extending from a central knot.
The Ends
The ends are the tips of the blades. Depending on the style, they may be straight (batwing), curved (butterfly), or pointed (diamond point). The ends should sit flat against your collar when the bow tie is properly tied.
Understanding these terms will make the step-by-step instructions much clearer. When we say "pass the longer blade through the loop," you will know exactly what we mean.
How to Tie a Bow Tie: Step by Step
Now for the main event. Follow these steps carefully, and take your time. Tying a bow tie is a manual skill, and like any physical skill, it takes a few tries to get the feel of it. Do not rush. Stand in front of a mirror, use both hands, and let your fingers learn the motion.
Step 1: Adjust the Neckband to Your Size
Before you put the bow tie around your neck, adjust the neckband to fit your neck size. You want the bow tie to sit snugly but comfortably around your neck. Most bow ties have a sliding buckle or T-hook adjustment. Set it to your neck measurement, just as you would for a shirt collar. If you are not sure of your neck size, measure with a flexible tape measure, or check the size on a shirt that fits you well. At Bespoke By CB, we help clients find their exact neck measurement during Book a consultation fittings, so the bow tie sits perfectly every time.
Step 2: Drape the Bow Tie Around Your Neck
Place the bow tie around your neck with the right end hanging about one inch lower than the left end. The exact amount does not matter too much, but starting with the right side longer gives you enough length to work with when forming the knot. Make sure the bow tie is centered and the neckband is flat against your collar, not twisted.
Step 3: Cross the Longer End Over the Shorter End
Take the longer right end and cross it over the shorter left end. The crossing point should be near the center of your neck, where the knot will eventually sit. Think of this as the starting position for the knot. The right end should now be pointing to your left, and the left end should be pointing down.
Step 4: Bring the Longer End Up and Through the Loop
Take the longer end (now on your left side) and bring it up under the shorter end, then push it down through the loop around your neck. This is the same motion as the first step of tying your shoes. Pull it snug. You have now formed a simple knot, similar to the first half of a shoelace knot. The shorter left end should be pointing straight down, and the longer right end should be draped over the top.
Step 5: Form the Bow Shape with the Shorter End
Now take the shorter left end and fold it over itself to form a bow shape. To do this, pinch the fabric at the center of the blade and fold it so that the middle of the blade creates a loop pointing to the right. Hold this loop horizontally against your neck. This loop will become one side of your finished bow tie. Keep holding it in place with your thumb and index finger.
Step 6: Drop the Longer End Over the Folded Loop
Take the longer right end and let it drop straight down over the center of the folded loop you are holding. The longer end should now be hanging vertically, covering the middle of the folded bow shape. This sets up the second half of the knot. Do not let go of the folded loop yet.
Step 7: Fold the Longer End and Push It Through the Loop Behind
Now comes the tricky part. Fold the longer right end the same way you folded the left end: pinch the center of the blade and fold it to create a second loop. While holding the first loop in place, you will see a small opening behind the knot. Push the folded second loop through this opening from back to front. This is the step that takes practice. The opening is small, and you need to push the folded fabric through it without losing the shape of the first loop. Use your fingers to guide the fabric through.
Step 8: Pull Both Loops to Tighten the Knot
Once both folded ends are through the knot, grab the two loops and pull them gently in opposite directions, left and right. This tightens the knot and sets the shape. Do not pull too hard at first. You want to get the knot snug but not overly tight. Adjust as needed.
Step 9: Adjust and Straighten the Bow Tie
Now that the knot is formed, take a moment to adjust. Grab both loops and gently tug them to even out the shape. Make sure the knot is centered on your neck. Check that both ends are roughly the same length. Straighten the blades so they sit flat against your collar. The bow tie should not look perfect, a slight asymmetry is actually desirable and signals that it is self-tied.
Step 10: Check the Fit and Final Position
Finally, check the overall fit. The bow tie should sit comfortably at the top of your collar, not too high and not too low. The knot should be compact and centered between the wings of your collar. If the bow tie feels too tight or too loose, adjust the neckband and re-tie. With practice, this entire process takes about 30 seconds.
Remember, the first few times you tie a bow tie, it will feel awkward. That is normal. Your fingers are learning a new motion. Try it 10 times in a row and you will start to develop muscle memory. Try it 50 times and you will be able to do it without thinking. Bespoke By CB encourages every client to practice at home before the big event, so you are not fumbling with it 20 minutes before you need to leave.
Common Mistakes When Tying a Bow Tie
Even with good instructions, there are a few common mistakes that can ruin a bow tie. Here is what to watch out for:
Tying It Too Tight
The most common mistake is pulling the knot too tight. A bow tie that is overly tight will look small and pinched, and it will be uncomfortable to wear. The knot should be firm but not strangling. If you feel pressure on your throat, it is too tight. Loosen the neckband slightly and re-tie.
Uneven Lengths
If one end of the bow tie is significantly longer than the other, the finished bow will look lopsided. This usually happens because you did not start with enough difference in length between the two sides. Start with the right end about one inch longer than the left, and adjust from there. If the finished bow is uneven, untie and start again with slightly different starting lengths.
Twisting the Blades
The blades of the bow tie should sit flat against your collar. If one or both blades are twisted, the bow tie will look messy and unfinished. After tying, check that both blades are lying flat. If they are twisted, straighten them with your fingers before tightening the final knot.
Using the Wrong Starting Length
If you start with both ends at the same length, you will not have enough fabric to form the knot properly. The key is to start with one end noticeably longer than the other. This gives you the extra length needed to wrap around and form the second loop. If you find yourself running out of fabric, start over with a bigger size difference.
Not Practicing Before the Event
This is the mistake we see most often at Bespoke By CB. A client gets dressed for a black tie optional event, tries to tie their bow tie for the first time, panics, and switches to a pre-tied. Do not let this happen to you. Practice at least five times before the day of the event. Tie it while watching TV. Tie it before bed. Make it part of your routine until it feels natural.
How to Adjust Your Bow Tie for the Perfect Fit
Getting the right fit is just as important as tying the knot correctly. A bow tie that fits well stays in place all evening and looks sharp from every angle. Here is how to get it right.
Set the Neckband Before You Tie
The neckband controls how tight the bow tie sits around your neck. Adjust it before you start tying, not after. The bow tie should sit snugly at the base of your collar, with enough room to fit one finger between the fabric and your neck. If it is too loose, the bow tie will sag. If it is too tight, it will pinch and look uncomfortable.
Check the Position of the Knot
The knot should sit centered between the two wings of your collar, not pushed to one side. If the knot is off-center, adjust the neckband or re-tie. The knot should also sit at the right height, just below your Adam's apple. Too high and it looks awkward. Too low and it looks sloppy.
Make Adjustments During the Event
It is perfectly acceptable to adjust your bow tie during an event. After dinner, after dancing, or after a few hours of wear, the bow tie may shift slightly. Excuse yourself, find a mirror, and straighten it. A quick tug on both loops and a check of the center is usually all you need. Do not be self-conscious about it. Men who wear bow ties know that a quick adjustment is part of the territory.
Know When to Re-Tie
If the knot has loosened significantly or the bow tie has shifted far out of position, it is better to untie and start fresh than to keep fiddling. A fresh tie takes 30 seconds and looks much better than a adjusted-and-readjusted knot. At Bespoke By CB, we tell clients to bring their bow tie to the fitting so we can show them exactly how it should sit with their custom suits or tuxedo.
Bow Tie Styles: Butterfly, Batwing, and Diamond Point
Not all bow ties are the same shape. The three main styles are butterfly, batwing, and diamond point, and each has a distinct look and best-use scenario.
The Butterfly (or Thistle)
The butterfly is the most common bow tie shape. It features curved edges that flare outward, creating a full, rounded bow. The butterfly is versatile and works well for most face shapes and collar styles. It is the standard choice for black tie events and formal occasions. If you are not sure which style to get, start with a butterfly. It is the safest and most classic option.
The Batwing
The batwing has straight edges and a narrower profile. It looks more streamlined and modern than the butterfly. The batwing is a good choice for men with narrower faces, as it does not overwhelm the face the way a large butterfly can. It is also a popular choice for daytime events and less formal occasions. The batwing pairs well with a slim-collar shirt.
The Diamond Point
The diamond point has pointed ends instead of curved or straight edges. It is the most distinctive of the three styles and adds a touch of personality to a formal outfit. The diamond point is less common than the butterfly or batwing, which makes it a good choice for men who want to stand out subtly. It works well for evening events and creative formalwear.
At Bespoke By CB, we help clients choose the right bow tie style based on their face shape, collar, and the occasion. During a Book a consultation session, Christian Boehm will walk you through the options and recommend the style that best complements your custom tuxedo or suit.
What Fabric Is Best for a Bow Tie
The fabric of your bow tie affects both its appearance and how easy it is to tie. Different fabrics have different textures, weights, and levels of grip, which all influence the knot.
Silk
Silk is the most traditional and popular fabric for bow ties. It has a smooth, lustrous finish that looks elegant under formal lighting. Silk bow ties are available in a wide range of colors and patterns. The main downside of silk is that it can be slightly slippery, which makes the knot less stable than other fabrics. However, with a well-tied knot, silk holds its shape well throughout an evening.
Cotton
Cotton bow ties have a matte finish and a slightly textured surface. They are easier to tie than silk because the fabric has more grip. Cotton is a good choice for daytime events, summer weddings, and less formal occasions. It pairs well with linen suits and relaxed tailoring.
Linen
Linen bow ties are lightweight and breathable, making them ideal for warm weather. They have a natural, slightly rumpled texture that looks great in casual and semi-formal settings. Linen is perfect for outdoor weddings and summer events. Like cotton, linen has good grip, which makes it easy to tie. The downside is that linen wrinkles easily, so it may need to be pressed before each wear.
Wool
Wool bow ties are less common but have a rich, textured appearance that is perfect for fall and winter. They pair beautifully with tweed jackets and heavier suits. Wool has excellent grip, making it one of the easiest fabrics to tie. A wool bow tie in a subtle pattern, like a houndstooth or glen check, is a stylish choice for a man who wants something a little different.
Velvet
Velvet bow ties are a luxurious option for winter events. They have a deep, plush texture that catches the light beautifully. Velvet is most commonly seen in black or deep jewel tones like burgundy and forest green. It is a bold choice that works well for holiday parties and evening events. Velvet has good grip and ties easily.
Bespoke By CB stocks a curated selection of bow ties in all of these fabrics, and we help clients match the fabric to the occasion, the season, and the outfit.
Bow Tie Colors and Patterns
Choosing the right color and pattern for your bow tie is where you can really express your personal style. Here are the basics to guide your choice.
Black: The Formal Standard
A black bow tie is the standard for black tie events. It is the most formal option and the safest choice. If the invitation says "black tie," wear a black bow tie. No exceptions. A black silk bow tie with a butterfly shape is the classic, timeless choice.
Solid Colors: Adding Personality
If the dress code allows for some flexibility, solid colors are a great way to add personality without going overboard. Deep burgundy, navy, forest green, and plum are all sophisticated choices that work well with formal attire. Avoid bright, saturated colors for formal events. Save those for parties and creative occasions.
Patterns: For the Stylish Man
Patterns add depth and interest to a bow tie. Polka dots, paisley, and subtle stripes are all excellent choices. The key with patterns is to keep them proportional to your outfit. A small, subtle pattern works well with a busy suit, while a bolder pattern can anchor a simple, solid-color outfit. Do not mix too many patterns. If your suit has a pattern, choose a solid bow tie. If your suit is solid, you can experiment with a patterned bow tie.
Texture as a Pattern
Sometimes the most interesting bow ties are not patterned at all but rely on texture. A knit bow tie, a grenadine, or a textured silk adds visual interest without competing with the rest of your outfit. Texture is an underused element in men's formalwear, and Bespoke By CB encourages clients to experiment with it.
When to Wear a Bow Tie
The bow tie is not just for black tie events. Here is a guide to when a bow tie is the right choice.
Black Tie Events
This is the obvious one. If the invitation says "black tie," you need a bow tie. Specifically, you need a black bow tie, preferably self-tied, worn with a tuxedo. This is non-negotiable. For a full breakdown of what black tie means, see our guide to black tie attire.
Weddings
Bow ties are a popular choice for weddings, both for the groom and for the wedding party. The bow tie adds a formal, celebratory feel that a necktie does not quite match. For daytime weddings, consider a lighter color or texture. For evening weddings, a darker color works well. Coordinate with the overall wedding palette.
Parties and Social Events
A bow tie can be a great conversation starter at parties and social events. It signals that you put thought into your appearance without being overly formal. A patterned or colored bow tie works well here. Pair it with a blazer and custom suits separates for a smart, put-together look.
Everyday Style
Some men wear bow ties as part of their everyday style. This is a bold choice, but it can work if done with confidence. A knit bow tie or a cotton bow tie in a casual pattern pairs well with a sport coat and chinos. It is a look that says you do not follow the crowd. If this sounds like you, Bespoke By CB can help you build a wardrobe that incorporates bow ties into your regular rotation.
Bow Tie vs Necktie: When to Choose Each
The bow tie and the necktie serve different purposes. Here is how to decide which one to wear.
Choose a Bow Tie When:
- The dress code calls for black tie or formal attire
- You are wearing a tuxedo
- You are attending a wedding as the groom or part of the wedding party
- You want to stand out and make a statement
- The event is celebratory or festive
Choose a Necktie When:
- The dress code is business or business casual
- You are wearing a suit, not a tuxedo
- You are in a professional or conservative setting
- You want a more understated look
- The event is during the day and not specifically formal
There is some overlap. For black tie optional events, you can wear either a bow tie or a necktie with a dark suit. When in doubt, a bow tie is the more formal choice. A necktie is the more versatile choice. If you are still unsure, Bespoke By CB can advise you based on the specific event and outfit.
How Bespoke By CB Can Help You Master Formal Style
Learning to tie a bow tie is just one part of looking sharp in formal attire. The other part is having the right clothing. You can tie the perfect bow tie, but if your tuxedo does not fit, the overall look falls apart. That is where Bespoke By CB comes in.
Bespoke By CB is Miami's premier custom clothier, founded by Christian Boehm in 1988. With over 37 years of experience, Christian has dressed thousands of men for black tie events, weddings, galas, and every formal occasion imaginable. He understands formalwear from the ground up, from the fabric of the lapels to the tuxedo studs on the shirt front.
When you come to Bespoke By CB for a custom tuxedo, the bow tie is part of the conversation. We help you select the right style, fabric, and color to complement your tuxedo. We show you how to tie it, let you practice in the fitting room, and make sure you leave with the confidence to do it yourself. This is not an afterthought. It is part of the service.
Our process starts with a consultation. Book a consultation with Christian or one of our stylists, and we will walk you through every detail of formal dress. We measure you for a tuxedo that fits your body perfectly. We help you choose the right shirt, the right bow tie, the right shoes, and the right accessories. Every element is selected to work together, so when you walk into the event, you look complete.
Bespoke By CB is not just about selling clothes. It is about helping men dress with confidence. Whether this is your first black tie event or your fiftieth, we want you to walk in knowing you look your best. That starts with a bow tie you tied yourself and a tuxedo that fits like it was made for you, because it was.
Frequently Asked Questions
Is it hard to tie a bow tie?
No, tying a bow tie is not hard, but it does take practice. The motion is similar to tying your shoes, so your hands already know the basic movement. The challenge is in the details: getting the lengths right, forming the loops, and pushing the second fold through the knot. Most men can tie a bow tie competently after practicing 10 to 15 times. Once you develop muscle memory, it takes about 30 seconds.
Can I wear a pre-tied bow tie?
Technically, yes. No one will stop you. But a pre-tied bow tie is visible to anyone who knows formalwear. It looks uniform and stiff, lacking the subtle asymmetry of a self-tied knot. If you are wearing a quality tuxedo or suit, a pre-tied bow tie undermines the look. We strongly recommend learning to tie your own. It is a small effort that makes a big difference.
What size bow tie should I get?
The size of the bow tie should be proportional to your face and the spread of your collar. A standard bow tie is about 2.25 to 2.5 inches wide. If you have a larger face or a wide-spread collar, you can go up to 3 inches. If you have a smaller face or a narrow collar, look for a slimmer bow tie around 1.75 to 2 inches. At Bespoke By CB, we help clients choose the right size during the fitting process, so the bow tie balances with the rest of the outfit.
Can I wear a bow tie with a suit, not a tuxedo?
Yes, you can. A bow tie with a suit is a stylish look for weddings, parties, and semi-formal events. The key is to choose a bow tie that is less formal than a black silk butterfly. Consider a textured fabric like knit or cotton, or a color that complements the suit. Avoid satin, which is too formal for a suit. Save the black satin bow tie for custom tuxedos.
How long should the bow tie ends be?
The ends of the bow tie should sit at the outer edges of your collar, or just slightly past them. If the ends extend well beyond your collar, the bow tie is too large. If they do not reach the edges, it is too small. When properly tied and sized, the bow tie should frame your face and sit neatly within the boundaries of your collar.
What if my bow tie is uneven after tying?
Minor unevenness is normal and actually looks good because it shows the bow tie is self-tied. But if one side is significantly longer or the knot is clearly off-center, untie and start again. Check your starting lengths, make sure one end is about an inch longer than the other, and tie carefully. With practice, you will get consistent results.
Does Bespoke By CB sell bow ties?
Yes, Bespoke By CB offers a curated selection of self-tie bow ties in silk, cotton, wool, and other fabrics. We stock various colors, patterns, and styles, from classic black butterfly to textured wool and patterned options. Every bow tie is selected to complement our custom tuxedos and suits. Visit us for a fitting and we will help you find the right bow tie for your next event. Book a consultation to get started.
